Appearance
Ubuntu轻松用
安装NVIDIA驱动
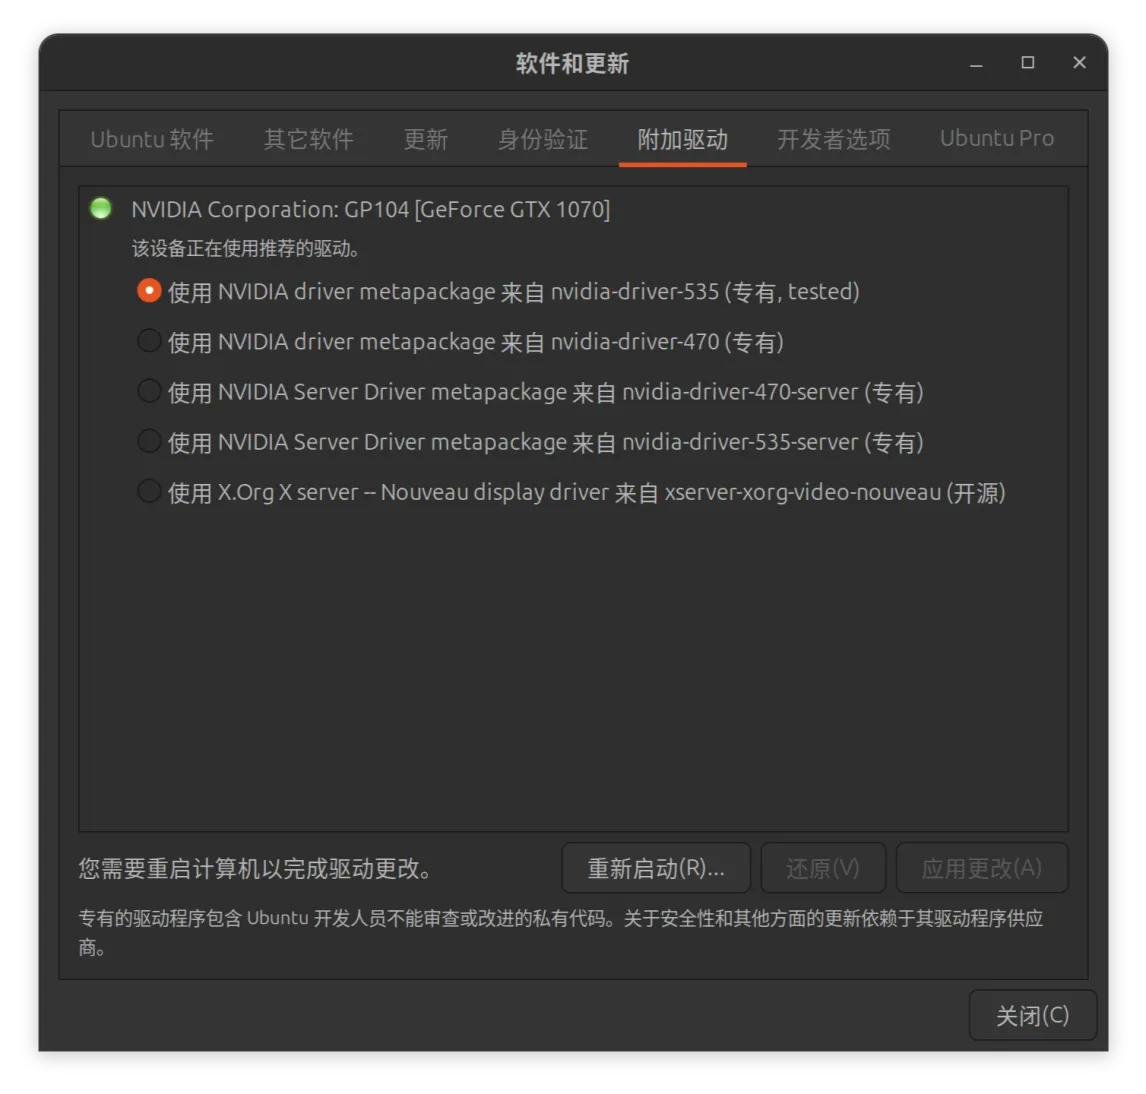
- 打开
附加驱动,选择需要的驱动版本,建议选择带有tested标识的专有版本,表明,该驱动为验证版本

- 重启系统
- 查看安装是否成功,可以使用命令
nvidia-smi查看是否有GPU信息显示
安装v2rayA
需要安装:
- v2ray-core:https://github.com/v2fly/v2ray-core
- v2rayA:https://github.com/v2rayA/v2rayA
安装v2ray-core
plain
# 从github下载v2ray-core
wget https://github.com/v2fly/v2ray-core/releases/download/v5.17.1/v2ray-linux-64.zip

# 解压到指定文件夹:/usr/local/v2ray-core
sudo unzip ./v2ray-linux-64.zip -d /usr/local/v2ray-core

# 由于v2rayA需要从目录/usr/local/share/v2ray/中读取dat文件,需要将dat文件拷贝到该目录中
sudo mkdir /usr/local/share/v2ray/
sudo mv /usr/local/v2ray-core/*dat /usr/local/share/v2ray/
安装v2rayA
plain
# 下载安装文件
https://github.com/v2rayA/v2rayA/releases/download/v2.2.5.8/installer_debian_x64_2.2.5.8.deb

# 安装v2rayA
sudo apt install ./installer_debian_x64_2.2.5.8.deb
配置v2rayA
- 关联v2rayA与v2ray-core
plain
# 编辑配置文件
sudo vi /etc/default/v2raya

# 添加配置
V2RAYA_V2RAY_BIN=/usr/local/v2ray-core/v2ray
V2RAYA_V2RAY_CONFDIR=/usr/local/v2ray-core- 设置开机启动
plain
# --now 参数表示设置为开机启动并立即启动v2raya
sudo systemctl enable --now v2raya
# 查看服务状态
systemctl status v2raya

# 如下设置生效,上面的设置无效,需要开启服务自启动,否则开机后不会连接节点
sudo systemctl enable v2raya.service
设置ssh
安装openssh-server
bash
# 安装openssh-server
sudo apt install openssh-server

# 查看ssh服务状态是否开启:Active为running则为已启动
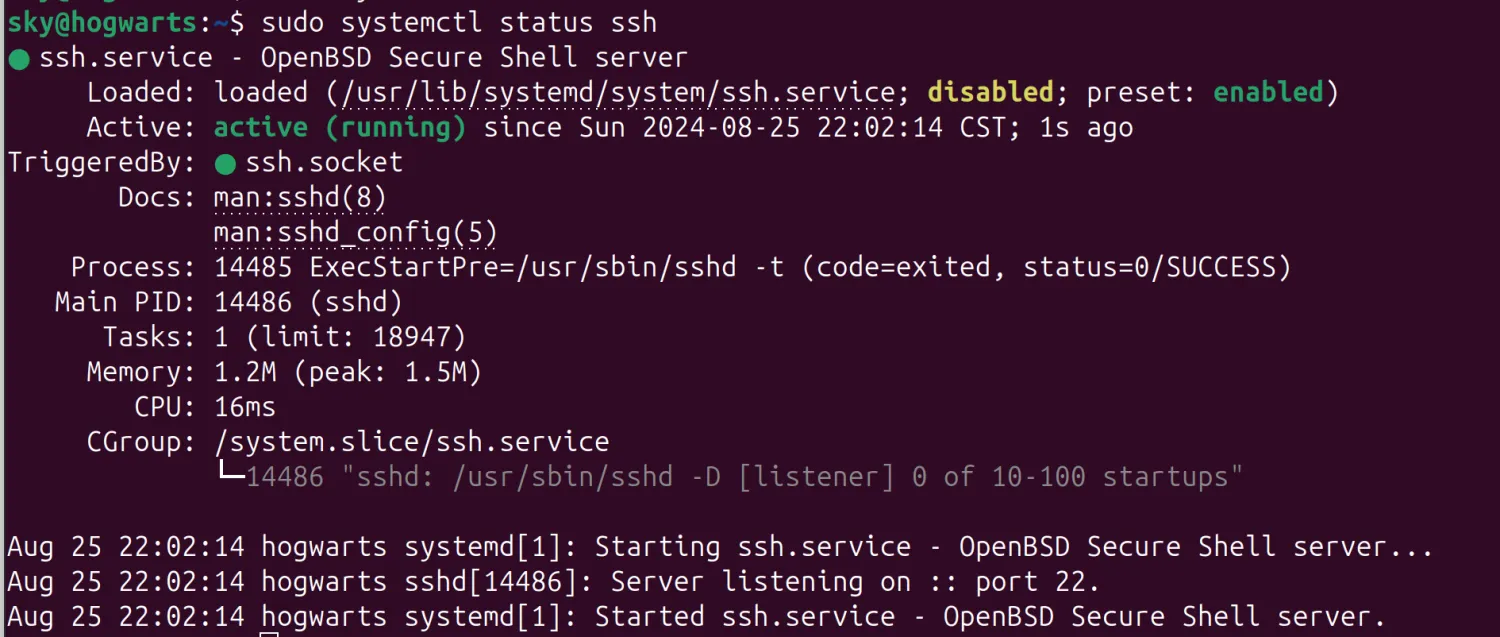
sudo systemctl status ssh

# 手动启动ssh服务
sudo systemctl start ssh- 启动后如下图:

登录到远程主机
查看远程主机IP
bash
# 可使用如下命令查看

ip a

hostname -I

# 使用sudo apt install net-tools安装ifconfig
ifconfig
登录到远程主机:
plain
ssh username@target_ip_address设置使用秘钥登录远程主机
在客户端生成ssh秘钥:
bash
ssh-keygen -t rsa -b 4096 -C "comment content"
# 4096:秘钥位数,4096更安全,可能稍微影响性能;2048:适用于大多数需求
# -C "comment content":注释内容,可选内容,可以使用邮箱或其他内容作为注释- 生成的秘钥存放于
~/.ssh目录下
复制公钥id_rsa.pub内容到远程主机
- 推荐:在客户端使用下述命令将本地公钥添加到远程主机
plain
ssh-copy-id user@remote-server- 手动复制内容到远程主机
plain
# 查看公钥内容,将内容复制到远程主机的~/.ssh/authorized_keys文件中
cat ~/.ssh/id_rsa.pub
配置ssh防火墙&重启&卸载ssh
防火墙设置
- 查看防火墙是否开启:
sudo ufw statusStatus: inactive:未开启,如需开启,使用命令sudo ufw enable开启Status: active:已开启
- 若已开启防火墙,则需要允许ssh服务通过防火墙:
sudo ufw allow ssh:允许ssh服务通过防火墙sudo ufw allow 22/tcp:显式指定ssh服务的端口通过防火墙
关闭、重启ssh
sudo systemctl stop ssh:关闭ssh服务sudo systemctl restart ssh:重启ssh服务
卸载ssh服务
sudo apt remove --purge openssh-server:卸载ssh
杂项
- 双系统下,设置 Ubuntu 时间:
bash
timedatectl set-local-rtc 1 --adjust-system-clock
# 修改后,无论 Ubuntu 时间是否正确,在 windows 中,自动更新时间后,Ubuntu 时间即可正常显示
- timedatectl set-local-rtc 1 --adjust-system-clock
- 转发v2rayA(127.0.0.1:2017):
- xgd-open 127-----,然后转发端口
- 使用X11转发图形界面
- 查看端口占用
- lsof -i :12345